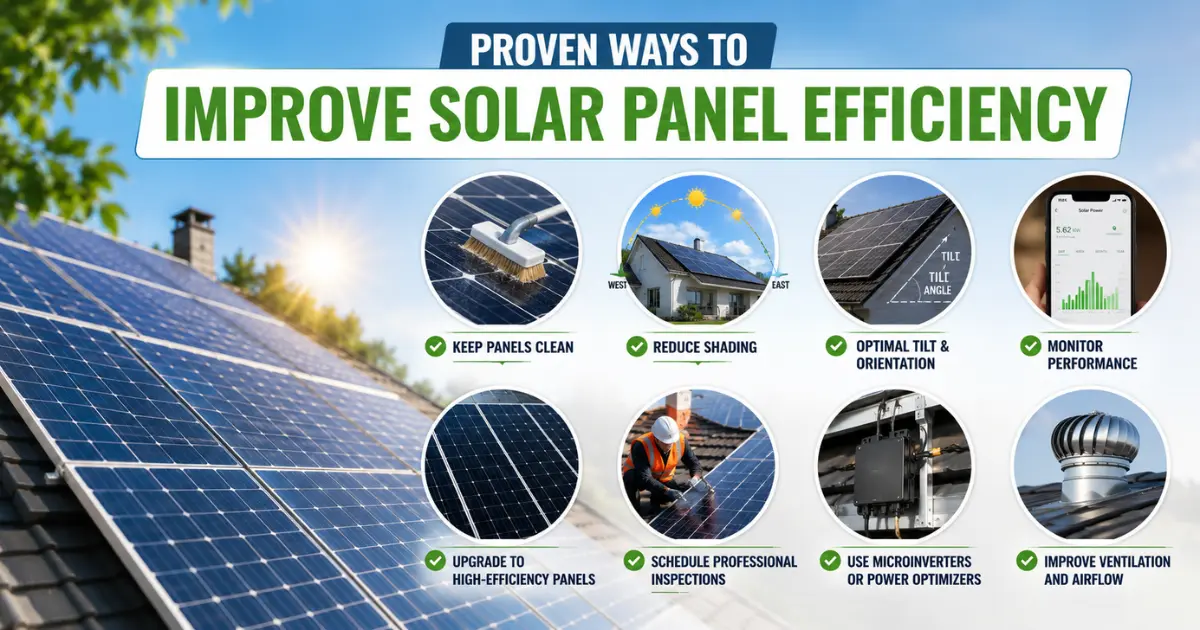
7 Proven Ways to Improve Solar Panel Efficiency (2026 Guide)
You cannot increase a solar panel’s factory-rated efficiency after it has been manufactured. But you …

You cannot increase a solar panel’s factory-rated efficiency after it has been manufactured. But you …
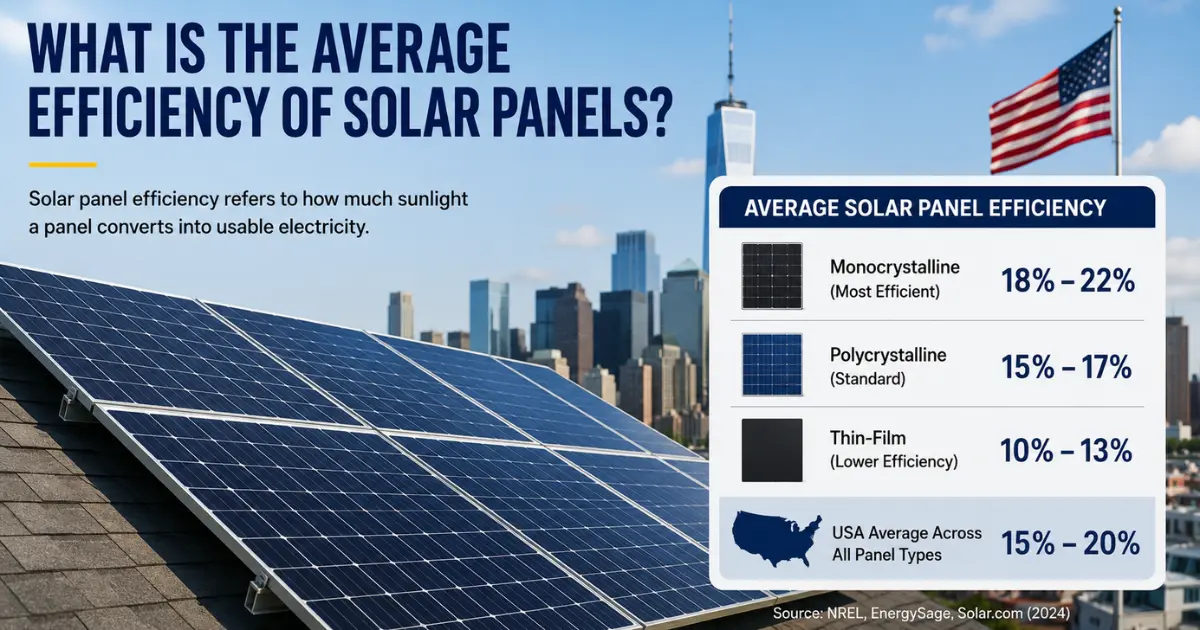
The average solar panel efficiency in the USA is 15% to 22% in 2026, with …
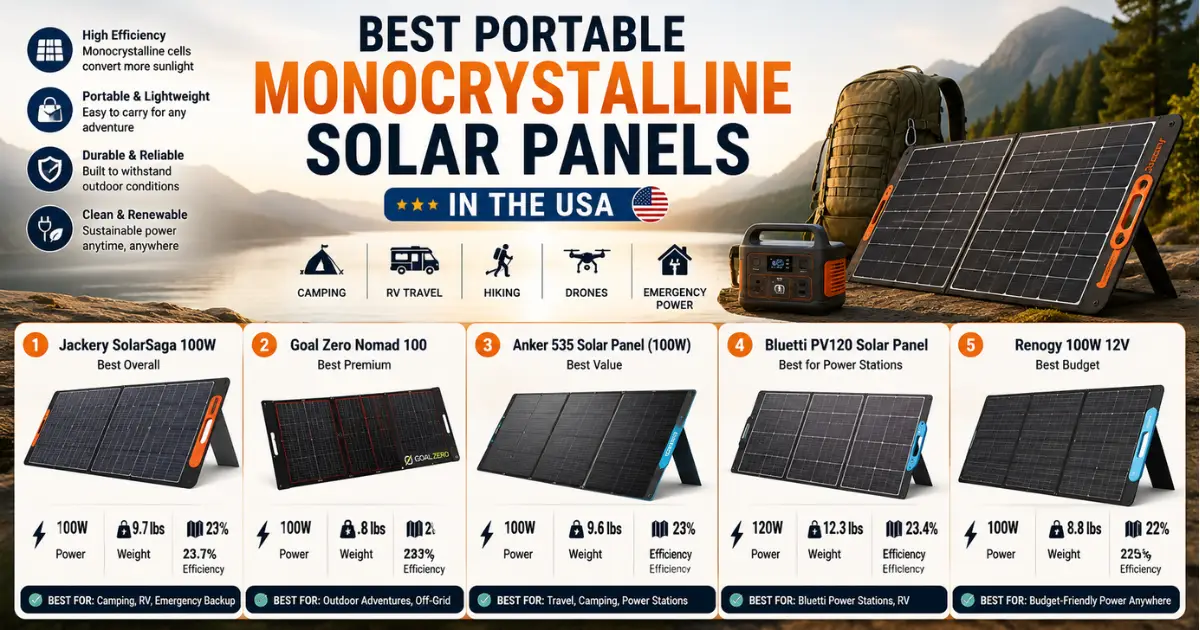
Portable monocrystalline solar panels are electronic devices that convert sunlight into electricity portable, energy efficient, and great …
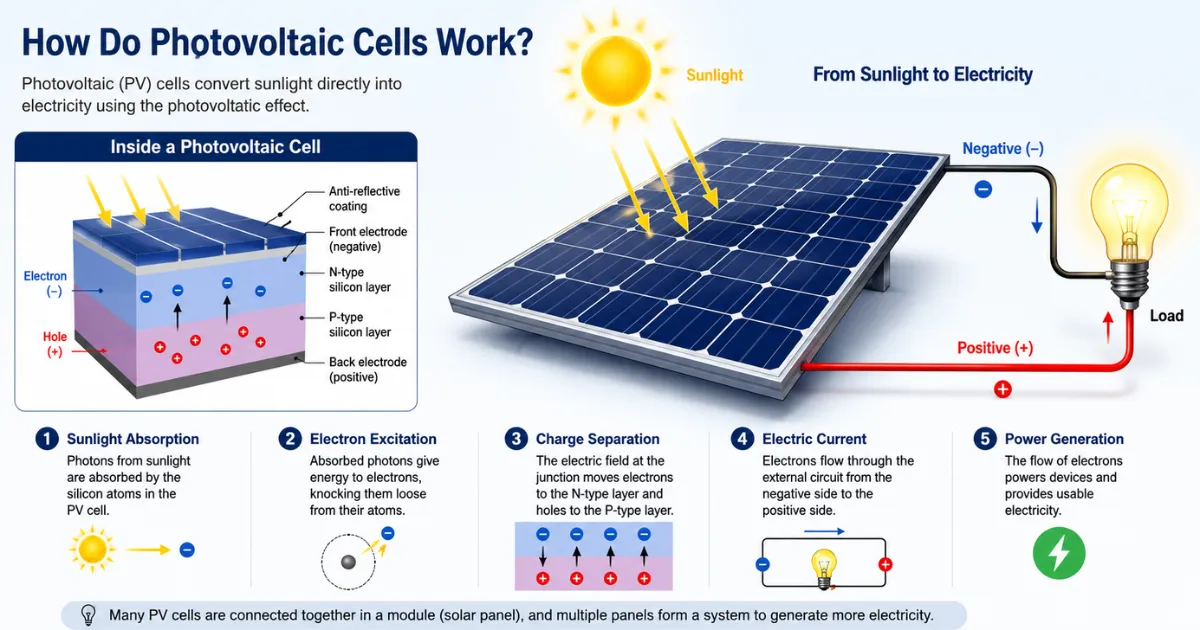
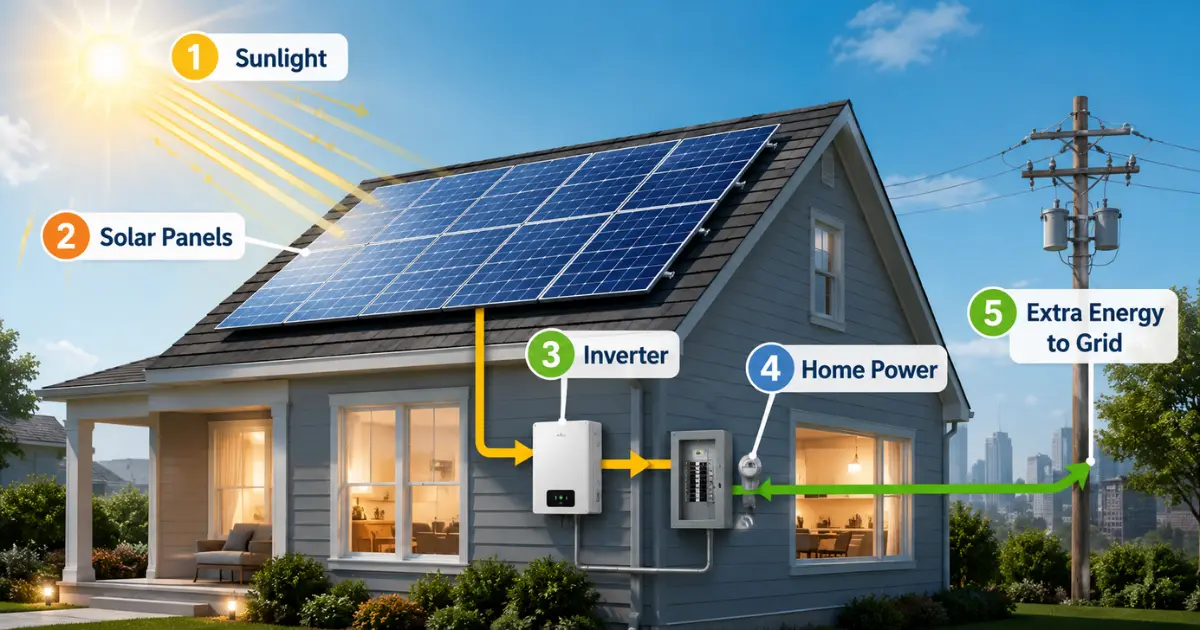
Photovoltaic cells convert sunlight directly into electricity through the photovoltaic effect. When sunlight hits a …
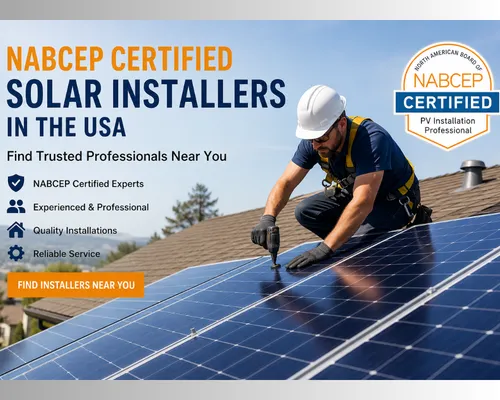
Installing solar panels is more than placing panels on a roof. In the USA, the …
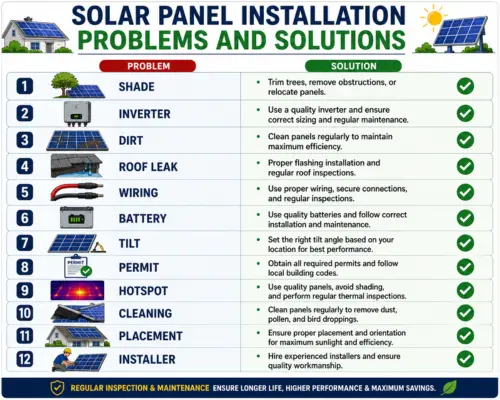
A solar system can reduce electricity bills for 25 years or more, but only if …
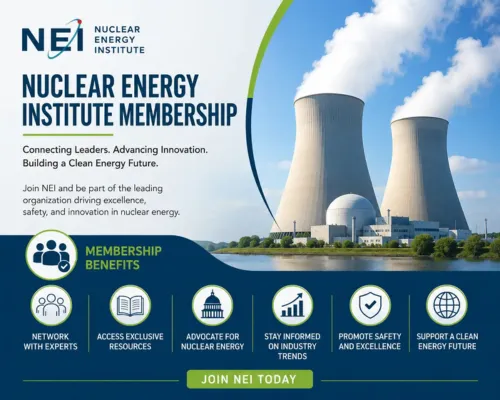
The Nuclear Energy Institute (NEI) is the U.S. nuclear industry’s primary policy and trade organization. …
Every year, thousands of American homeowners make one of the biggest financial decisions of their …

Residential solar panel installation has become increasingly popular among homeowners in the USA. This is …
Yes, solar panel installation is worth it for many U.S. homeowners in 2026. Homes with …

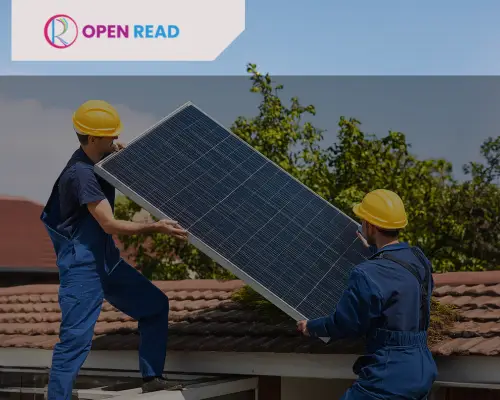
Rooftop solar panel installation is becoming a top choice for U.S. homeowners. Families across America …

Solar panel installation in the USA is quickly becoming a top choice for homeowners and …

Solar panel installation cost in Arizona ranges from $2.25 to $2.80 per watt, making it …
On average, Florida homeowners pay $2.30 to $3.00 per watt, making solar a cost-effective long-term …

New York is one of the best residential solar markets in the United States. There …

In Texas, the solar panel installation average cost can range from $2.60 to $3.20 per …
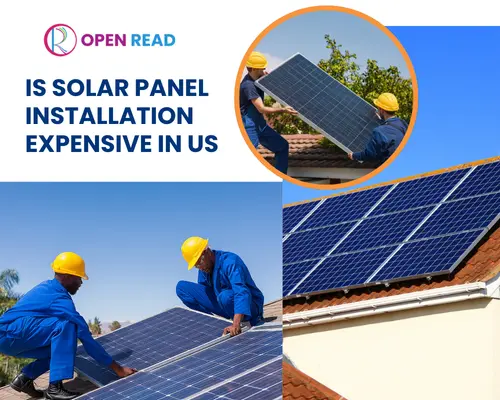
Many USA homeowners think solar panel installation is not as expensive. But in reality, the …

In 2026, the United States solar industry stands at the center of a clean-energy revolution. …

Solar panel installation in Californian house is diverse. Most Californian house mounting solar panel system …

Magazines are more than just reading material. They’re time capsules, pop culture artifacts, and sentimental …
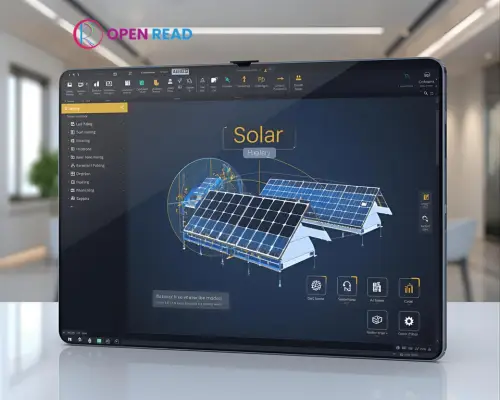
A free tool is not suitable for designing a mega solar system project. This is …